Elephant Bib Binkie Holder Pattern and Tutorial
NOTE: This was originally posted on the Stubbornly Crafty blog on February 23, 2016. We lost all of the original files and are slowly reposting the most popular posts from the old blog. Enjoy!
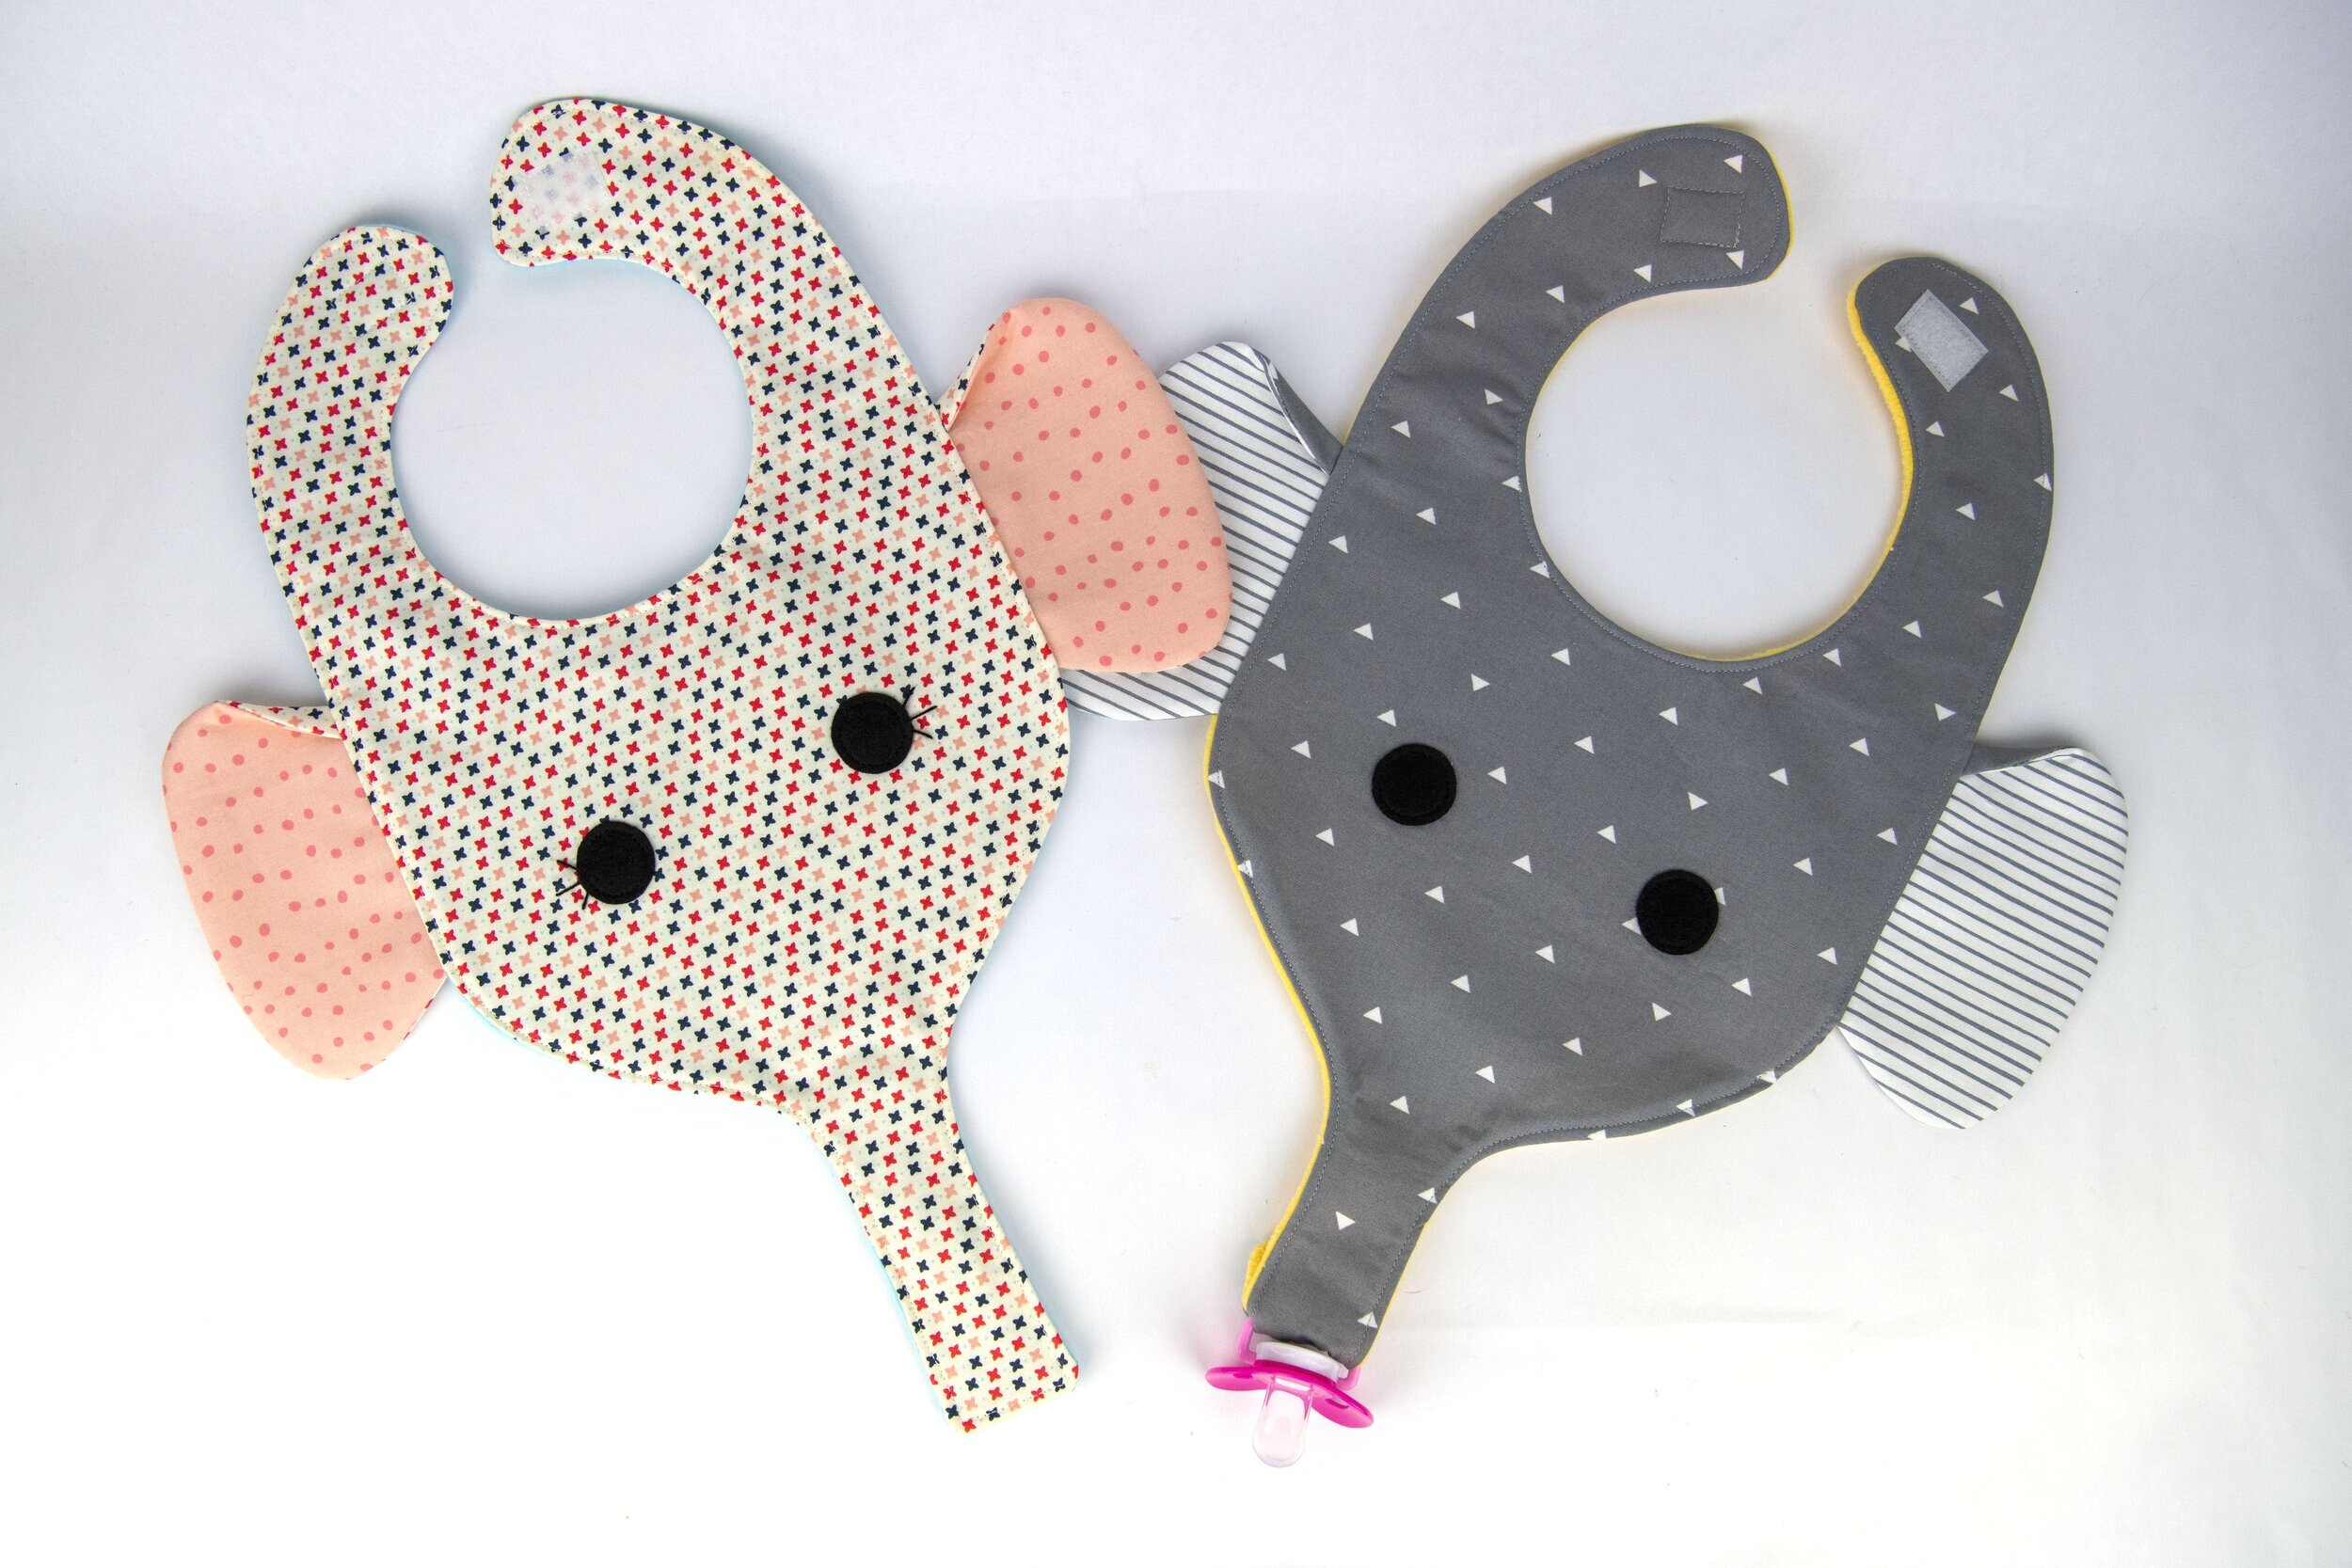
My awesome sister-in-law just had a little baby boy. She shared a photo of some combo bib binkie holders with me on Facebook. I thought they were pretty handy but not so cute, so I went to work designing a bib/binkie holder that was a bit more my style. Thus was born the elephant bib whose trunk holds your little one’s binkie for him/her. You can always make the ears out of minkie too and make it a bib/binkie holder/burp cloth triple threat. Why not?

The pattern is for a toddler size bib but I’m sure you could print it at a smaller size to make it for an infant. Thanks to my dear friend for letting me interrupt nap time to get a photo of a bib in action for you. Poor baby was tired and not a fan of my camera in her face. What a trooper!
As you can see, the bib has full coverage. No stains on these clothes!
Let’s get sewing!
Supplies:
Elephant bib pattern (PDF download)
Gray fat quarter
Pink scrap
Black felt scrap
Velcro
Backing fabric (minky, terry cloth, fleece, etc.)
Fusible midweight interfacing (optional)
Use a 1/4 seam allowance.

Tape together the three pages of the pattern, being careful to line up the pages along the dotted lines to match up the outline of the bib well. Then cut out the main bib piece and smaller pattern pieces for the ears and eyes.

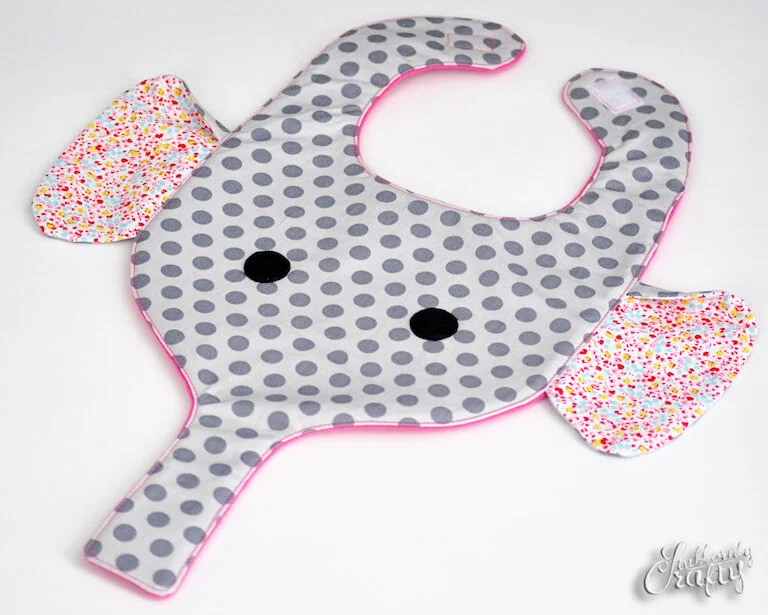
Iron your fabrics. If you are using interfacing, iron it onto the back of your gray fabric. Trace the main bib pattern onto your gray fabric and two ears (mirror image). Make sure to transfer the eye and ear placement markings. Cut out. Trace two mirror image ears onto your inner ear scrap and cut out. Cut out one main bib pattern from your backing fabric as well and two eyes from your black felt.

Let’s start with your main bib body. Place the eyes over your eye placement marking and sew into place.


Take your ears and match them up gray to pink with right sides together. Take to your sewing machine and sew around the round side of your ear, leaving the straight edge open. Turn right side out and press.

Now take your ears, pink side up, and turn down the corner 1/4” so that the gray is just showing along the top, then tack down.

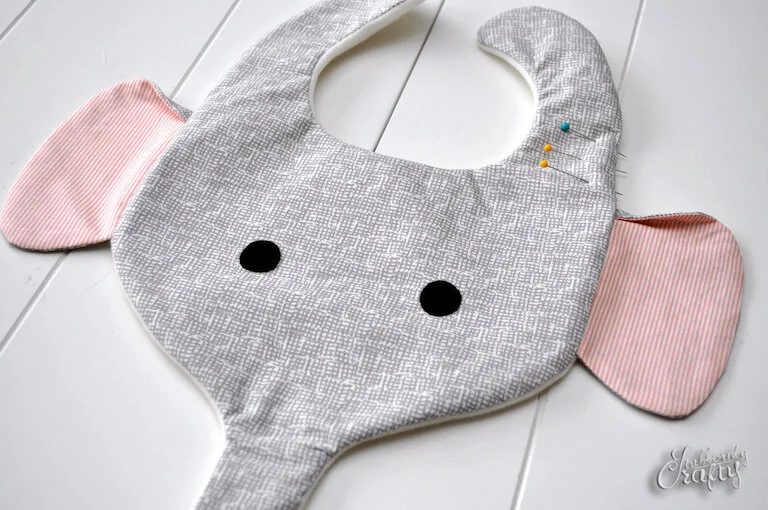
Once you’ve done that, grab your main body piece (the elephant’s face). Fold the ears over, so the gray side is showing, onto the pattern. Line up the top edge with the ear marking we transferred from the pattern. Pin and then tack in place.

Take your velcro and cut a 1.5″ piece from the hook and another from the loop. Grab your bib backing you’ve already cut out and measure a 1/2″ up from the bottom 1/4″ of the trunk on the right side of the fabric and place the velcro loop (softer piece). Sew in place. From the top of the velcro loop, measure another 3/4″ and place the velcro hook tape. (I did a 1/2″ in this photo between the two velcro pieces, but once I had access to a binkie, I realized it needed more room.) Sew in place.


Now to put our bib front and back together. Place your main bib, right side up with ears still in toward the eyes, on the table. Lay your backing on top right side down. Your velcro will be on the inside. Pin.


Sew from one side all the way around to the other, leaving approximately a 2.5″ opening for turning on the side of one of the straps. Make sure to back stitch at the beginning and end.
Turn right side out and press. Turn the raw edges of your opening under and pin. Take to your sewing machine and top stitch all the way around.

Add 1″ long velcro on the tabs (or snaps if you prefer snaps) and you are done! Not too bad, right? Quick and painless.
