Bunny Dress & Headwrap Tutorial

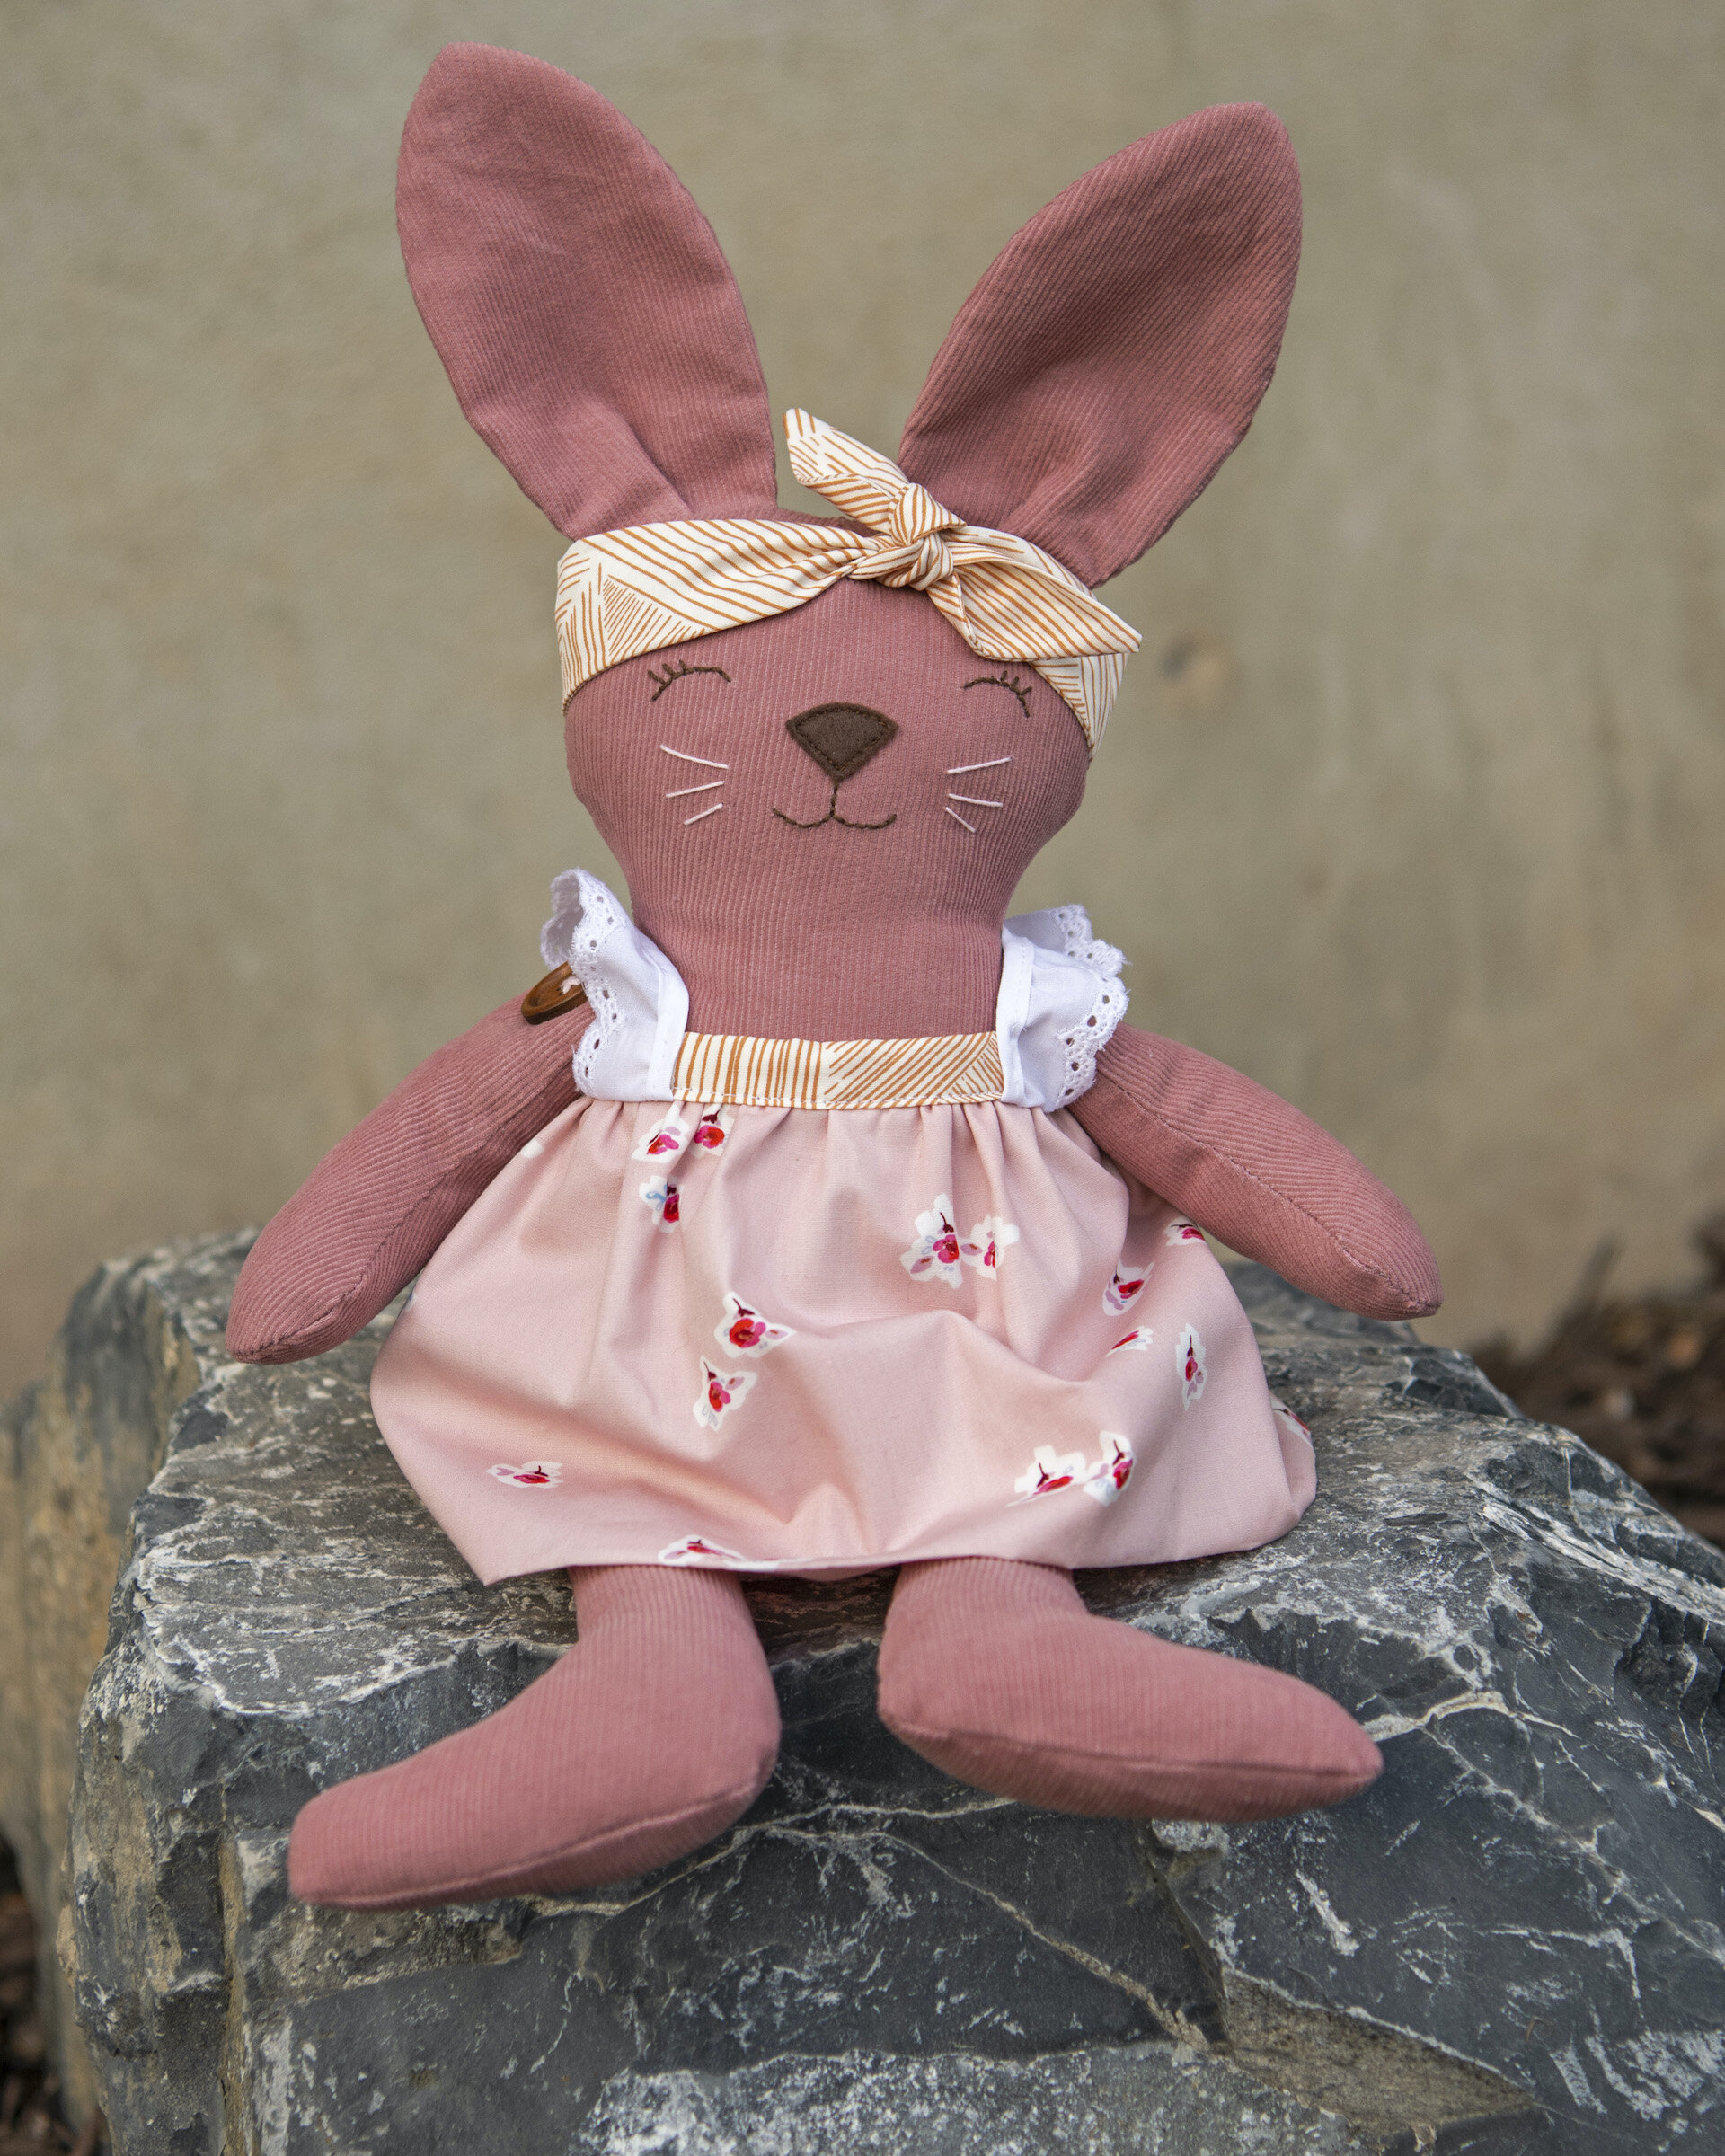
Hi my sewing friends! Today I just released my newest pattern, Beau and Babs Bunny. It’s the sweetest little bunny with big feet and long ears that you can customize to your liking. You can purchase it on the website here or in my etsy shop here. I designed a simple dress to fit this new pattern and I wanted to share a quick tutorial on how you can make one, too. It’ll also fit any doll with a 13” chest circumference. Ok, let’s do this.
Supplies:
⅓ yard main fabric for dress
¼ yard coordinating fabric for top of dress and headwrap
1 snap
(2) 6” strips of eyelet lace (or whatever creative strap option you can dream up)
All seam allowances are ¼” unless otherwise stated.

Cut your main fabric 12”x24” rectangle.
Cut your coordinating fabric into a 2.5”x13.5” rectangle and a 3”x21” rectangle.

Alright, let’s sew. Take your main fabric rectangle and fold it in half, right sides together width wise, and pin both short ends. Take to your sewing machine and sew just the two outer edges using ¼” seam allowance. Turn right side out and press.

Next we will be sewing a gathering stitch (adjust your stitch length as high as it will go) along the raw edge from one side to the other. Make sure to leave a long tail on both ends. Set aside.

Grab the top of your dress (2.5”x13.5” rectangle) and we will be making it into double fold bias tape. First, fold your rectangle in half like a hot dog bun (width wise), wrong sides together, and press.Next let’s fold the short ends under ⅛” on both ends to get rid of that raw edge.

Next let’s fold the short ends under ⅛” on both ends to get rid of that raw edge.

Open it back up and take both edges and fold them in to touch the middle crease one at a time. Press as you go. When you are done fold your middle crease in encasing your raw edges all inside.

One last step before we start putting this baby together. Grab a Frixion pen, water soluble pen, or chalk. Whatever you’ve got. Situate your bias tape “bodice” (that’s what I’ll refer to it from now on) in front of you with the opening facing down. Measure in 5” from one end and make a mark. From that same end measure in 1.5” and make a second mark.

Repeat from the other end, making a mark at 5” and 1.5”.

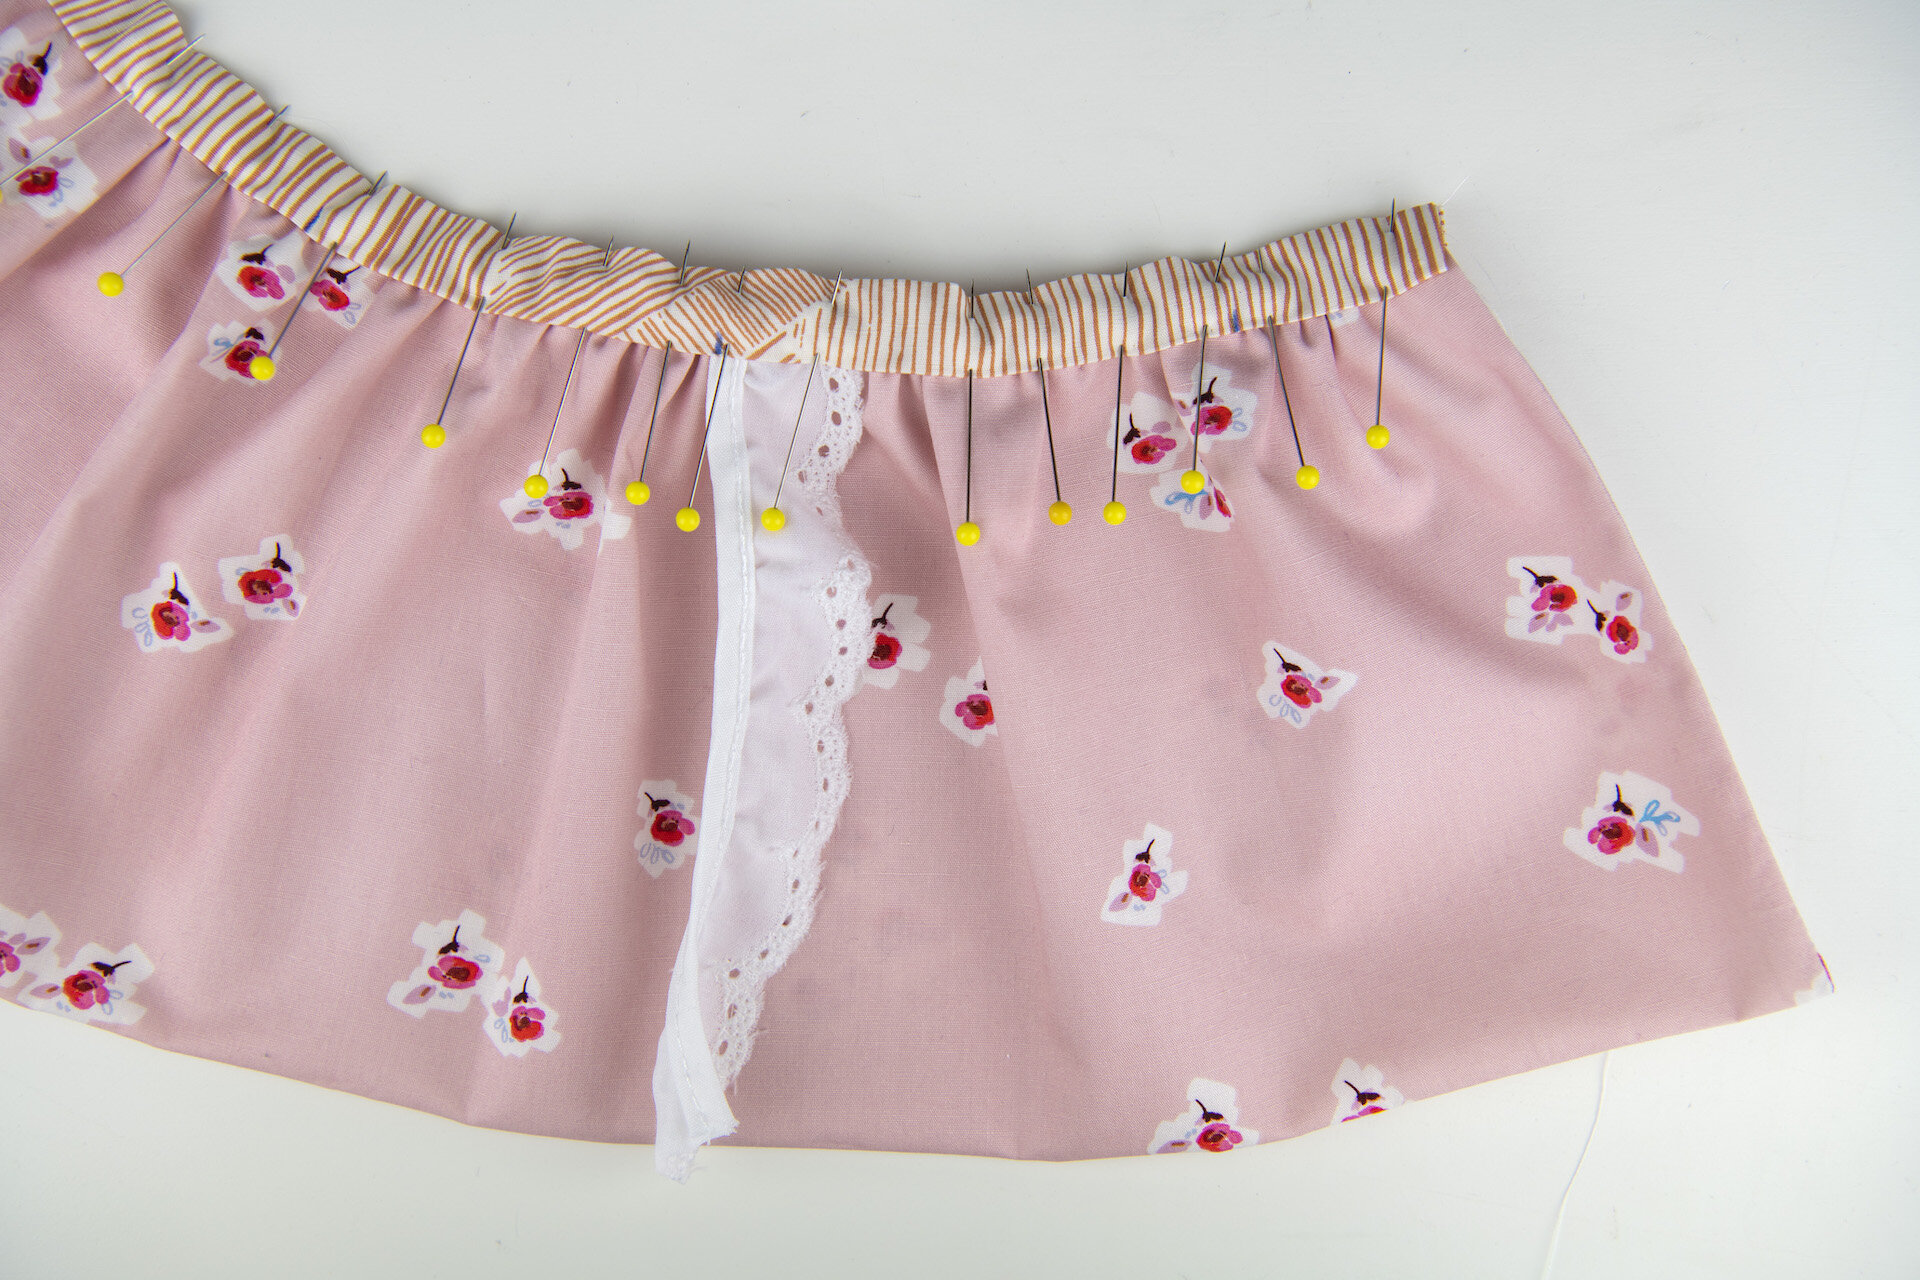
Ok, let’s grab our main dress piece and start gathering it to match the length of our bias tape bodice we just created by holding the top thread of your gathering stitch and pushing the fabric in towards the center. Make sure to not pull the thread out as you go and try to make your fabric gather look uniform all the way across and not all bunched up on one end.

Open your bias tape bodice so the top with your marks is facing up and the opening is along the bottom edge. Place your main dress inside touching the top (the middle crease of your bias) and the outside edges should me the ends of the bias tape bodice after you gathered it. Close your bias with the dress inside and start pinning.
One more step before we sew it closed: grab your 6” eyelet lace strips. These are our dress straps. Look at your eyelet lace and determine which side is the right side and which is the wrong side (one side looks cleaner and prettier than the other). Your eyelet lace has a bias tape of its own already sewn along the straight edge. Using that straight edge let’s place our first strap. Remember those marking’s we made? Our 5” in markings are where we will place the front of our strap and the 1.5” markings are the back. You want the straight edge of your eyelet lace to be on the inside of your 5” marking with the pretty side (the right side) facing down. Pull your pin out at that marking and slide your eyelet lace into the dress's bias tape. The end of the eyelet lace should touch the top of the bodice (the middle crease). The lace is facing down towards the dress's skirt.

Take the other end of the eyelet lace and while making sure it doesn’t twist, place the opposite end under the bias tape bodice at the 1.5” mark. You want the straight edge of the eyelet lace along your 1.5” mark.

Repeat on the opposite side.

Take to your machine and sew from one end of the bias tape opening to the other making sure to backstitch at the beginning and end.

Take your eyelet lace straps and finger press them up. Sew a few stitches in the eyelet lace’s bias to tack them in place and keep them in the right position. You can do this with a needle and thread or with your machine.

Now all we have left to do is add a snap in the back. Overlap the bodice bias tape approximately ½” and add your snap following the directions on the package.
HEADWRAP INSTRUCTIONS

Now all we have left to do is the headwrap. Fold your head wrap rectangle in half lengthwise (like a hotdog) and press.

Then fold it in half with both short ends lined up. Grab a ruler and measure in 1.5” on the raw end of your fold. Make a line from the bottom outer edge of your headwrap to that 1.5” mark and cut that triangle off trimming both ends in a slant.

Now take your headwrap and sew using a ⅛” seam allowance from the end of one side to the other edge, leaving a 1.5” opening in the middle for turning.

Turn right side out. Press. Sew your opening closed.
Now you just need to put it around bunny’s head and tie a knot. Slip her dress on her and she’s already for a day out with a new friend.